
With the 9.5 update to the Tor Browser, website publishers can now advertise their onion service to Tor users by adding an HTTP header to their webserver of choice.
So if you, the website publisher, offer an alternative .onion address for your users, those that visit your ‘clearnet’ site using the Tor Browser will see a nice violet tag rightmost of their URL / address bar, tag that reads the magic “.onion available” words.
And on first use, the users can opt to use the more secure and private .onion alternate address, instead of the clearnet provided one.
What do I mean?
Easy: this blog lives at https://evervee.me (a so-called ‘clearnet’ address); when visiting this URL in your Tor Browser, you will (hopefully) get presented with this beauty:
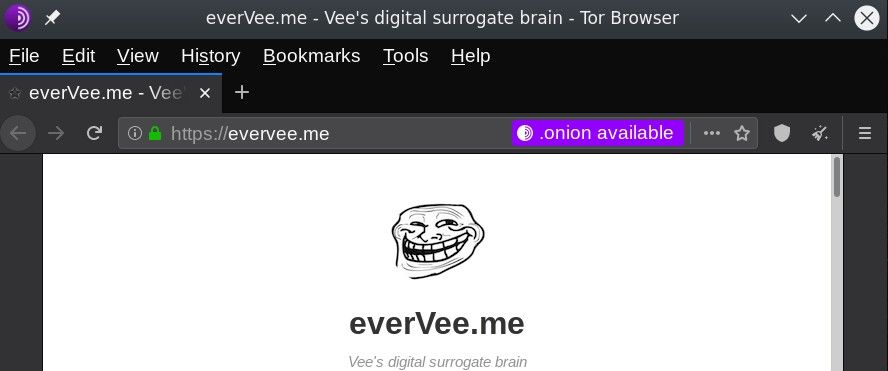
Now, this intentionally happens only the first time during that session that you visit a clearnet site that advertises an .onion alternative.
It can be the same site, just served over the Tor network, or it can be any .onion hidden service, with content different than the clearnet site that advertises it. Which is our case here.
The .onion url for this example is my simple hidden service, it’s not simply this same content. That can easily achieved as well. We’ll cover that in a later post.

the HOW
It’s absolutely trivial. Whatever webserver software you use, it must send an extra header with the response to any request.
The header is Onion-Location. In our case, with nginx, it’s a one-line change for the server configuration file, in the server { } block:
add_header Onion-Location http://<your_onion_domain.onion>$request_uri;That’s it.
Test the nginx configuration with nginx -t on the command line, and if you haven’t changed anything else, you should see:
nginx: the configuration file /etc/nginx/nginx.conf syntax is ok
nginx: configuration file /etc/nginx/nginx.conf test is successful
That means that you can safely reload the server (in order for it to re-read this new configuration, by issuing an service nginx reload in your command line of the server.
Done. You’re golden.
If you have any issues getting this to work correctly, please reach out to me and I’ll be happy to assist.
I can’t seem to get your TOR browser to connect to the web. No matter what I do it will not connect.